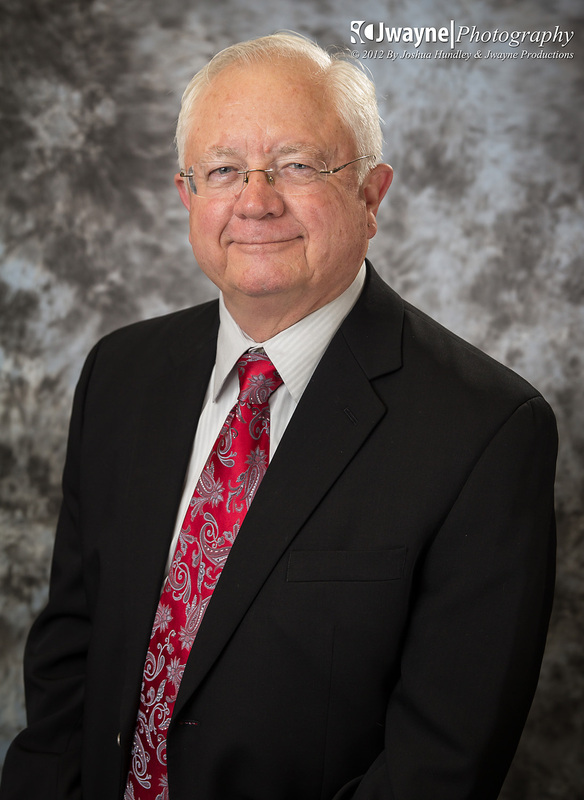
 So I have been asked multiple times how to do a corporate portrait shoot. Well, the correct answer is... there is no real set way to do one. There are setups that will work most of the time, but each shoot will be different depending on certain items. 1. What is the photo used for? 2. What color is the subjects skin? Hair? clothes? 3. Where is the photo going to be taken? Inside or Outside? These are just some of the questions you need to ask when asked to shoot a corporate photo portrait. you do not want the person so show up wearing a blue shirt and the only background you brought was the same color blue. Or white on white for that matter. In order to produce effective corporate shots, you need to get as much information as possible so you can plan the shoot accordingly. The General Setup: 3 point lightingWhat does 3 point lighting mean? Well... it means exactly what is says, that there are 3 lights. these lights are referred to as: The main light The fill light and The Back light The main light is the "Main Light" in which will do most of the work to light up your subject. Our main light in the photo below is the Apollo Octobox to the left. The fill light is the light that will fill back in the shadows of the opposite side of the face. This light it normally set to a lower power outage that the main light, and is set further back. you do not want to over do this because you still want some shadows on the face, depending on what look you are going for. In our photo, we are using a silver reflector as our fill light. This is going to bounce our main-light back onto our subject. You will have to play around to get the reflector just right. Lastly, we have our back-light. This is the light that perpetrates our subject from the background and adds some depth to the photo. This is normally the light that is used to rim around the subjects shoulders or used as a hair light. In our photo below, our canon 580EX II on a boom pole is our back-light / hairlight. 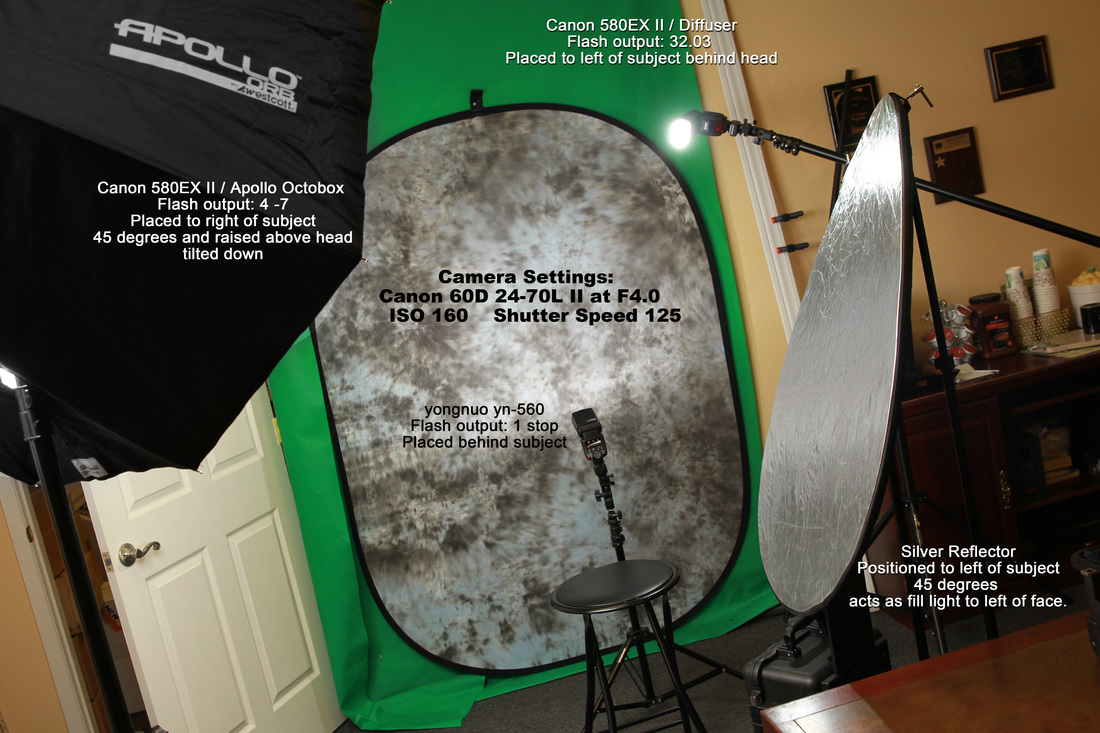 Now this is generally the normal setup, however we want to add a light to the background to separately light up the background from our subject. To do this we just used a small flash set to a very low power and placed it behind the subject aimed directly at the background. You do not want to overpower this light as you just want a small pop of flash.
Now do remember that this is only the Basic setup. You can get creative and shoot with more lighting, most poses, different backgrounds and what ever you can think of! Get out and get creative =)!
0 Comments
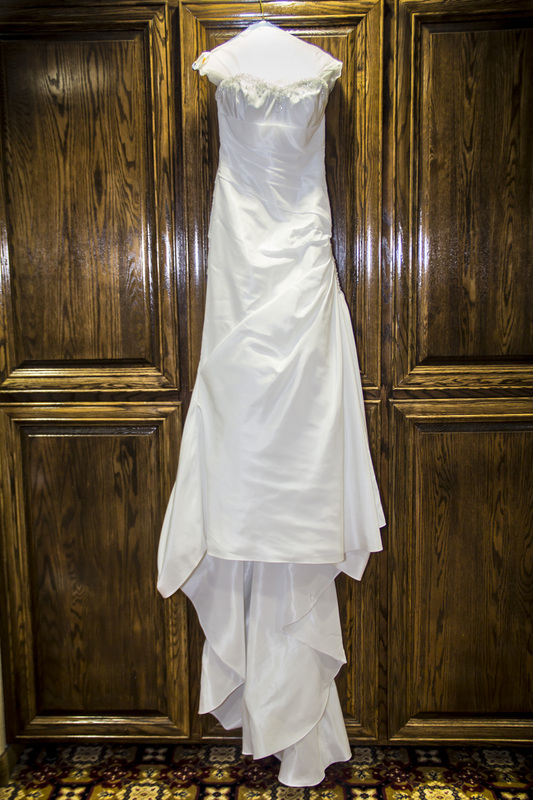
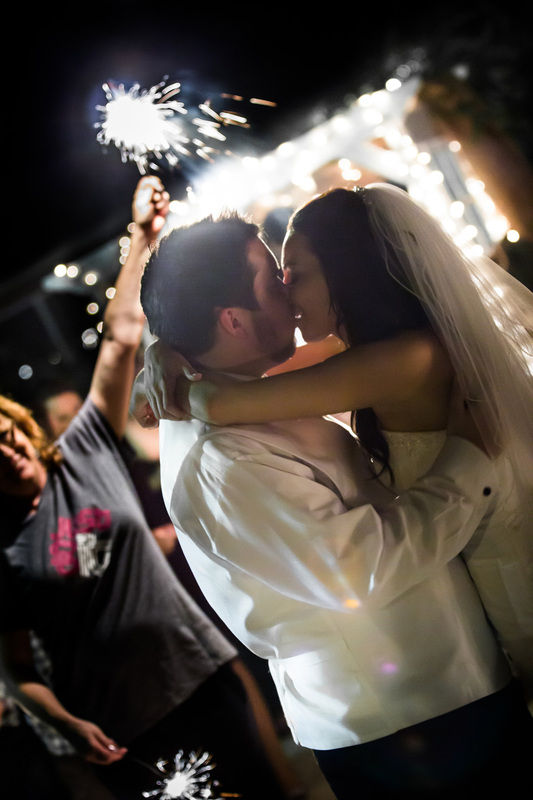
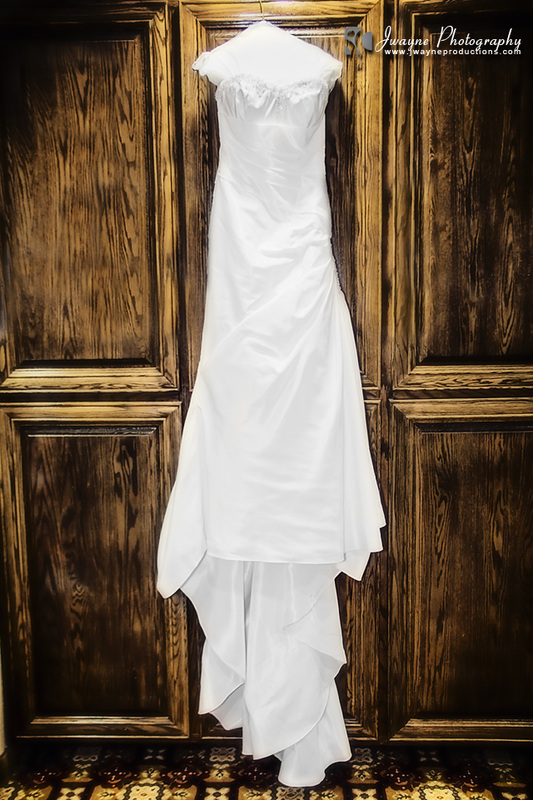
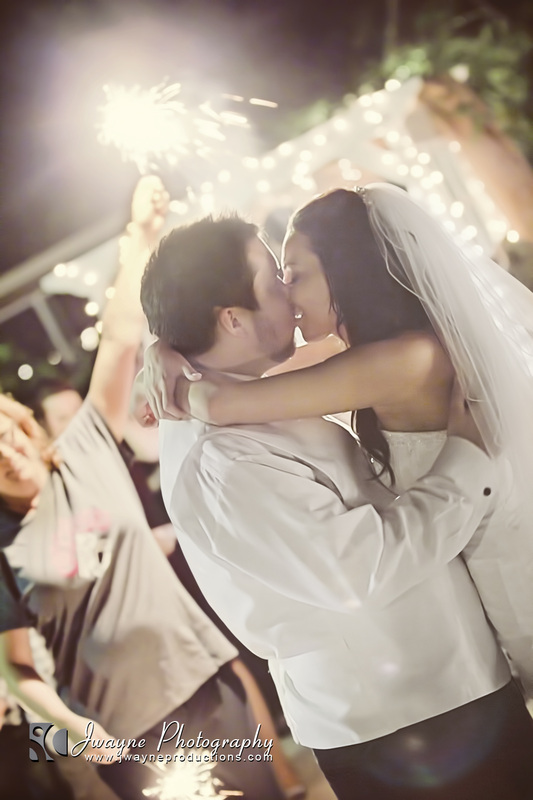
So lately i have been asked by fellow photographers, friends and family... How do i know i am getting better? Well is this not the REAL question we all ask ourselves? Am I getting better at what I do?... Have i progressed at all since i started, or have i progressed from last month. How do I even know for sure that i have gotten better? There are a few ways to understand and figure out if you have gotten better. One of the ways i like to test myself is to do what i call Re-Edits. This simply means what it says. I go back to past shoots, take the RAW file from scratch and Re-Edit it. I then compare it to the original final copy and see which one is better. Now this is only a skill that involves the editing process. if i wanted to see if i have gotten better with lighting, i would simply Re-Shoot the photo if i can. Would i add more light? add more diffusion, Move the subject this way, move the subject that way. The same can be said for pretty much anything. The Key is to Re-Do what you already did, and see which one comes out better. If your new image comes out better then you have improved your knowledge. If it does not come out better then chances are your original shoot was just a lucky test shot, and you still have some learning to do. Here are 2 images from over a year ago i went back and Re-Edited to see how much difference my new knowledge could have made.
|
 RSS Feed
|
Jwayne Productions
Creative Branding Strategies |